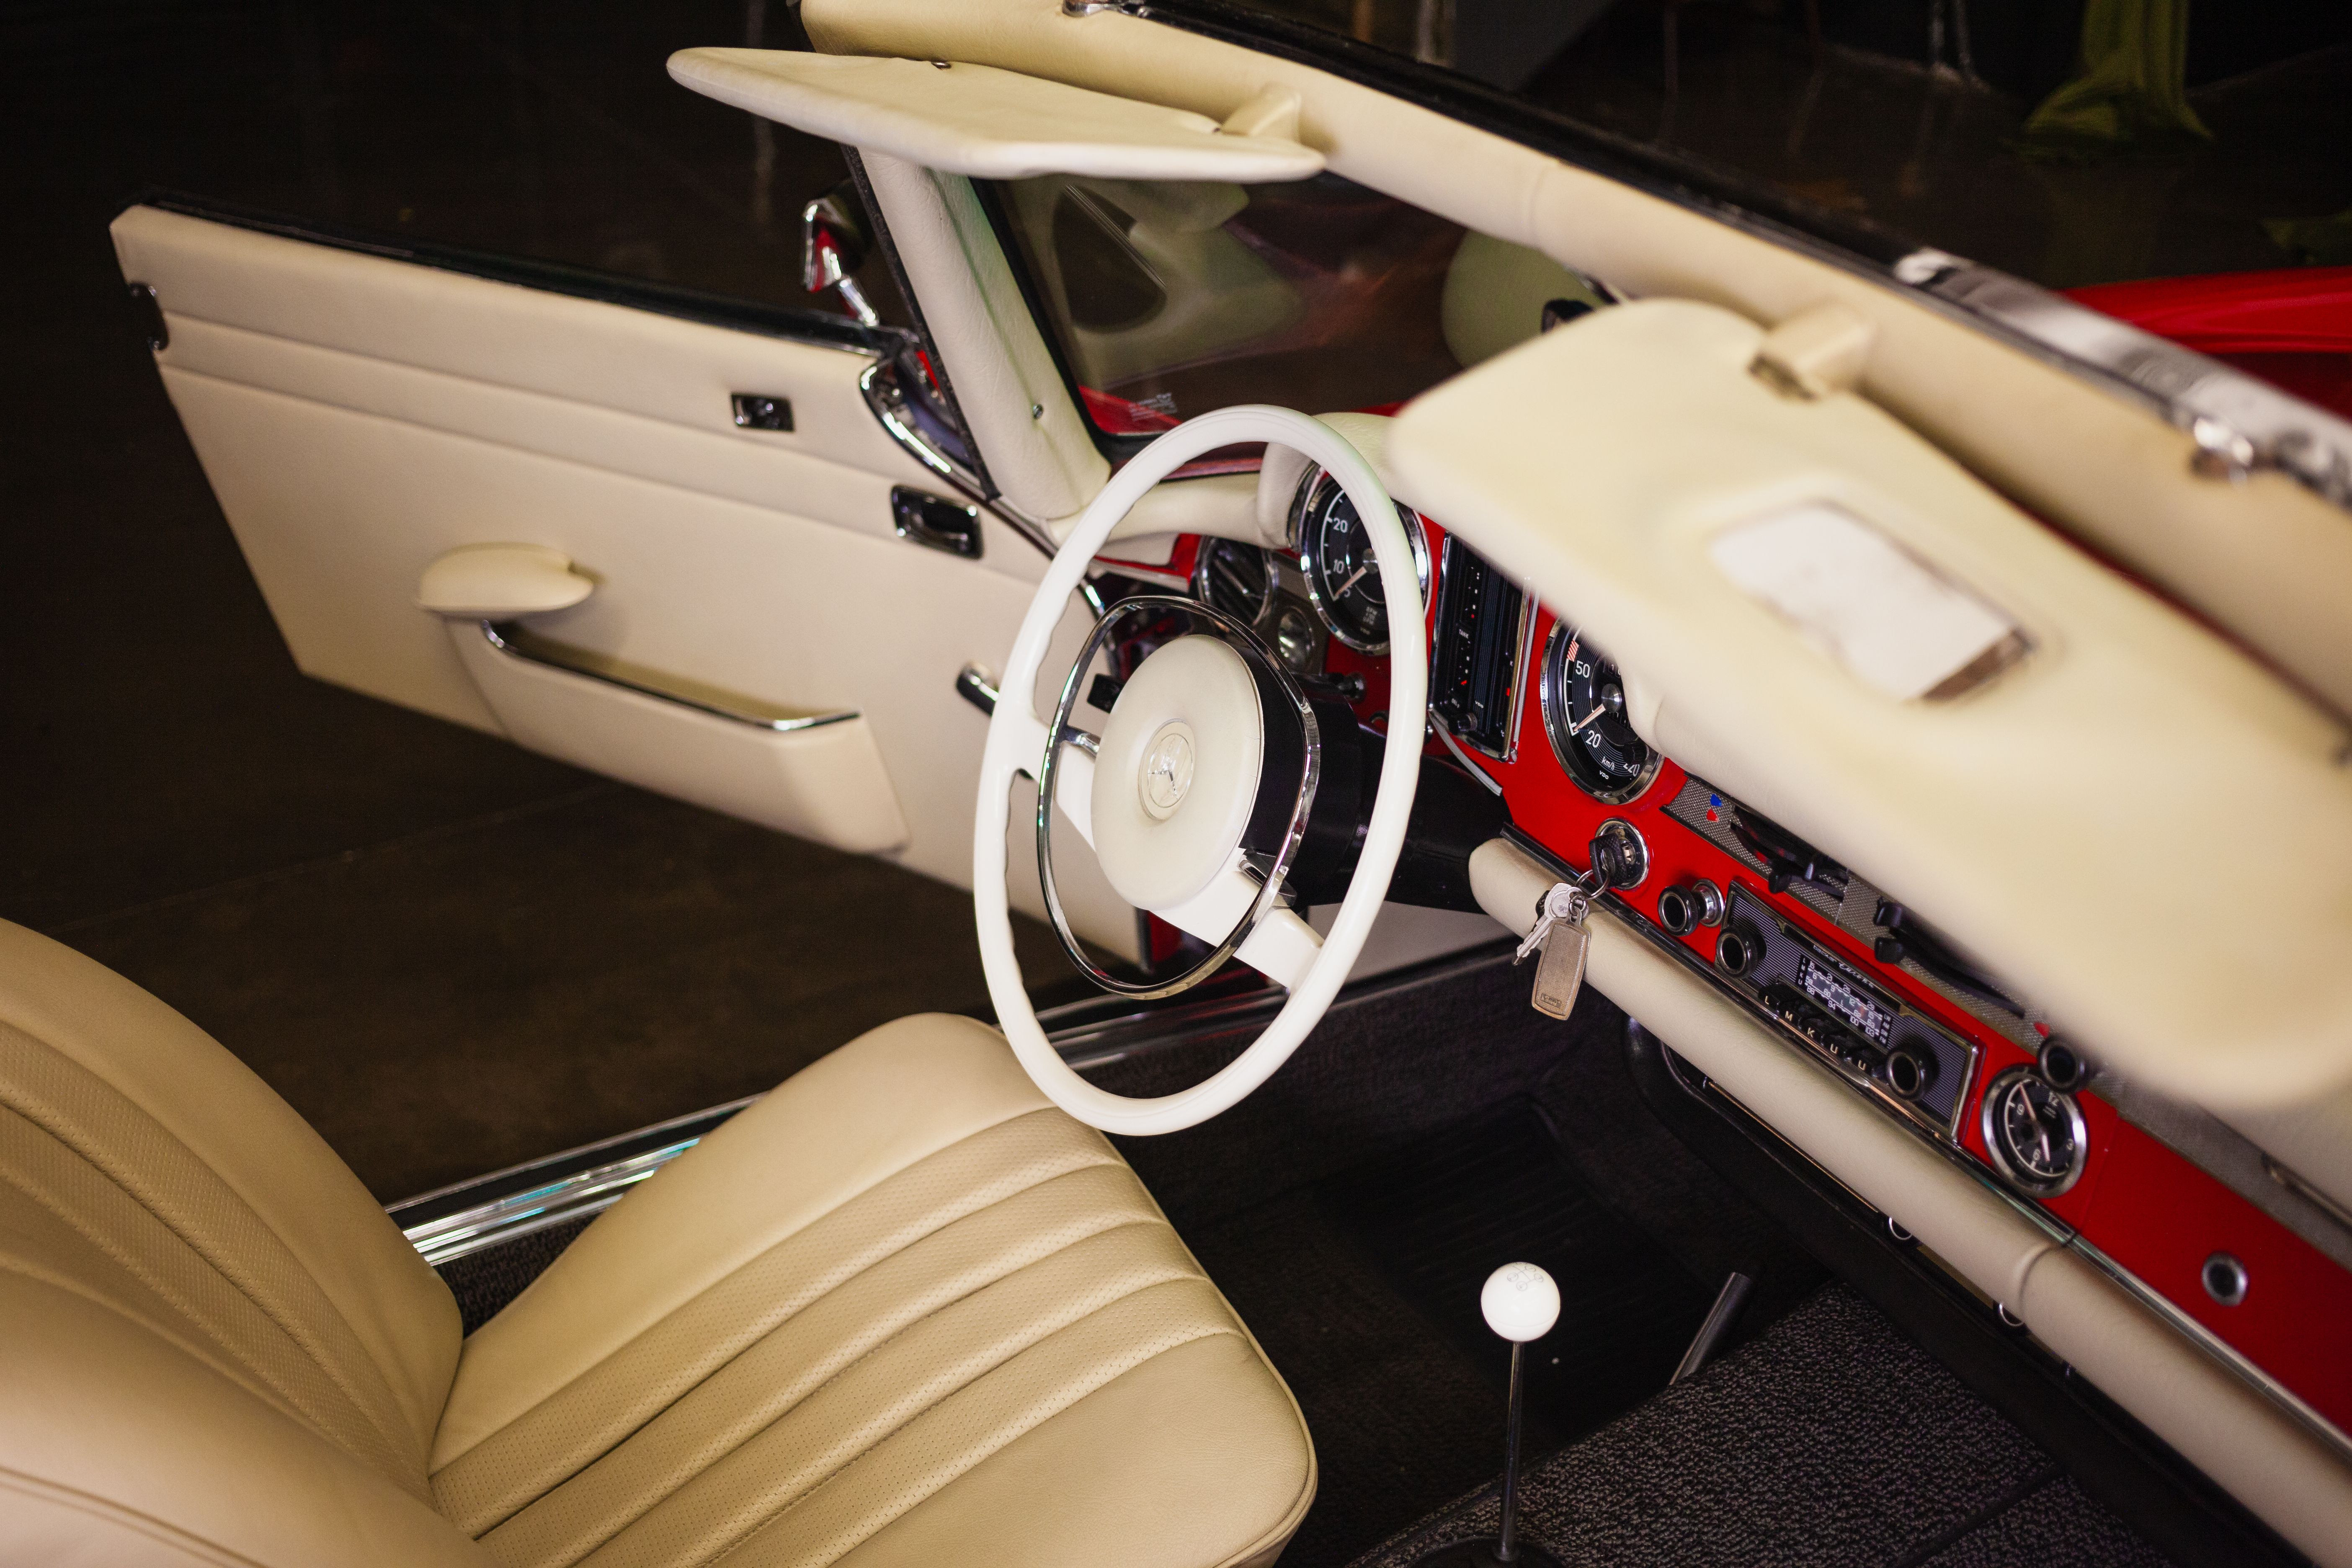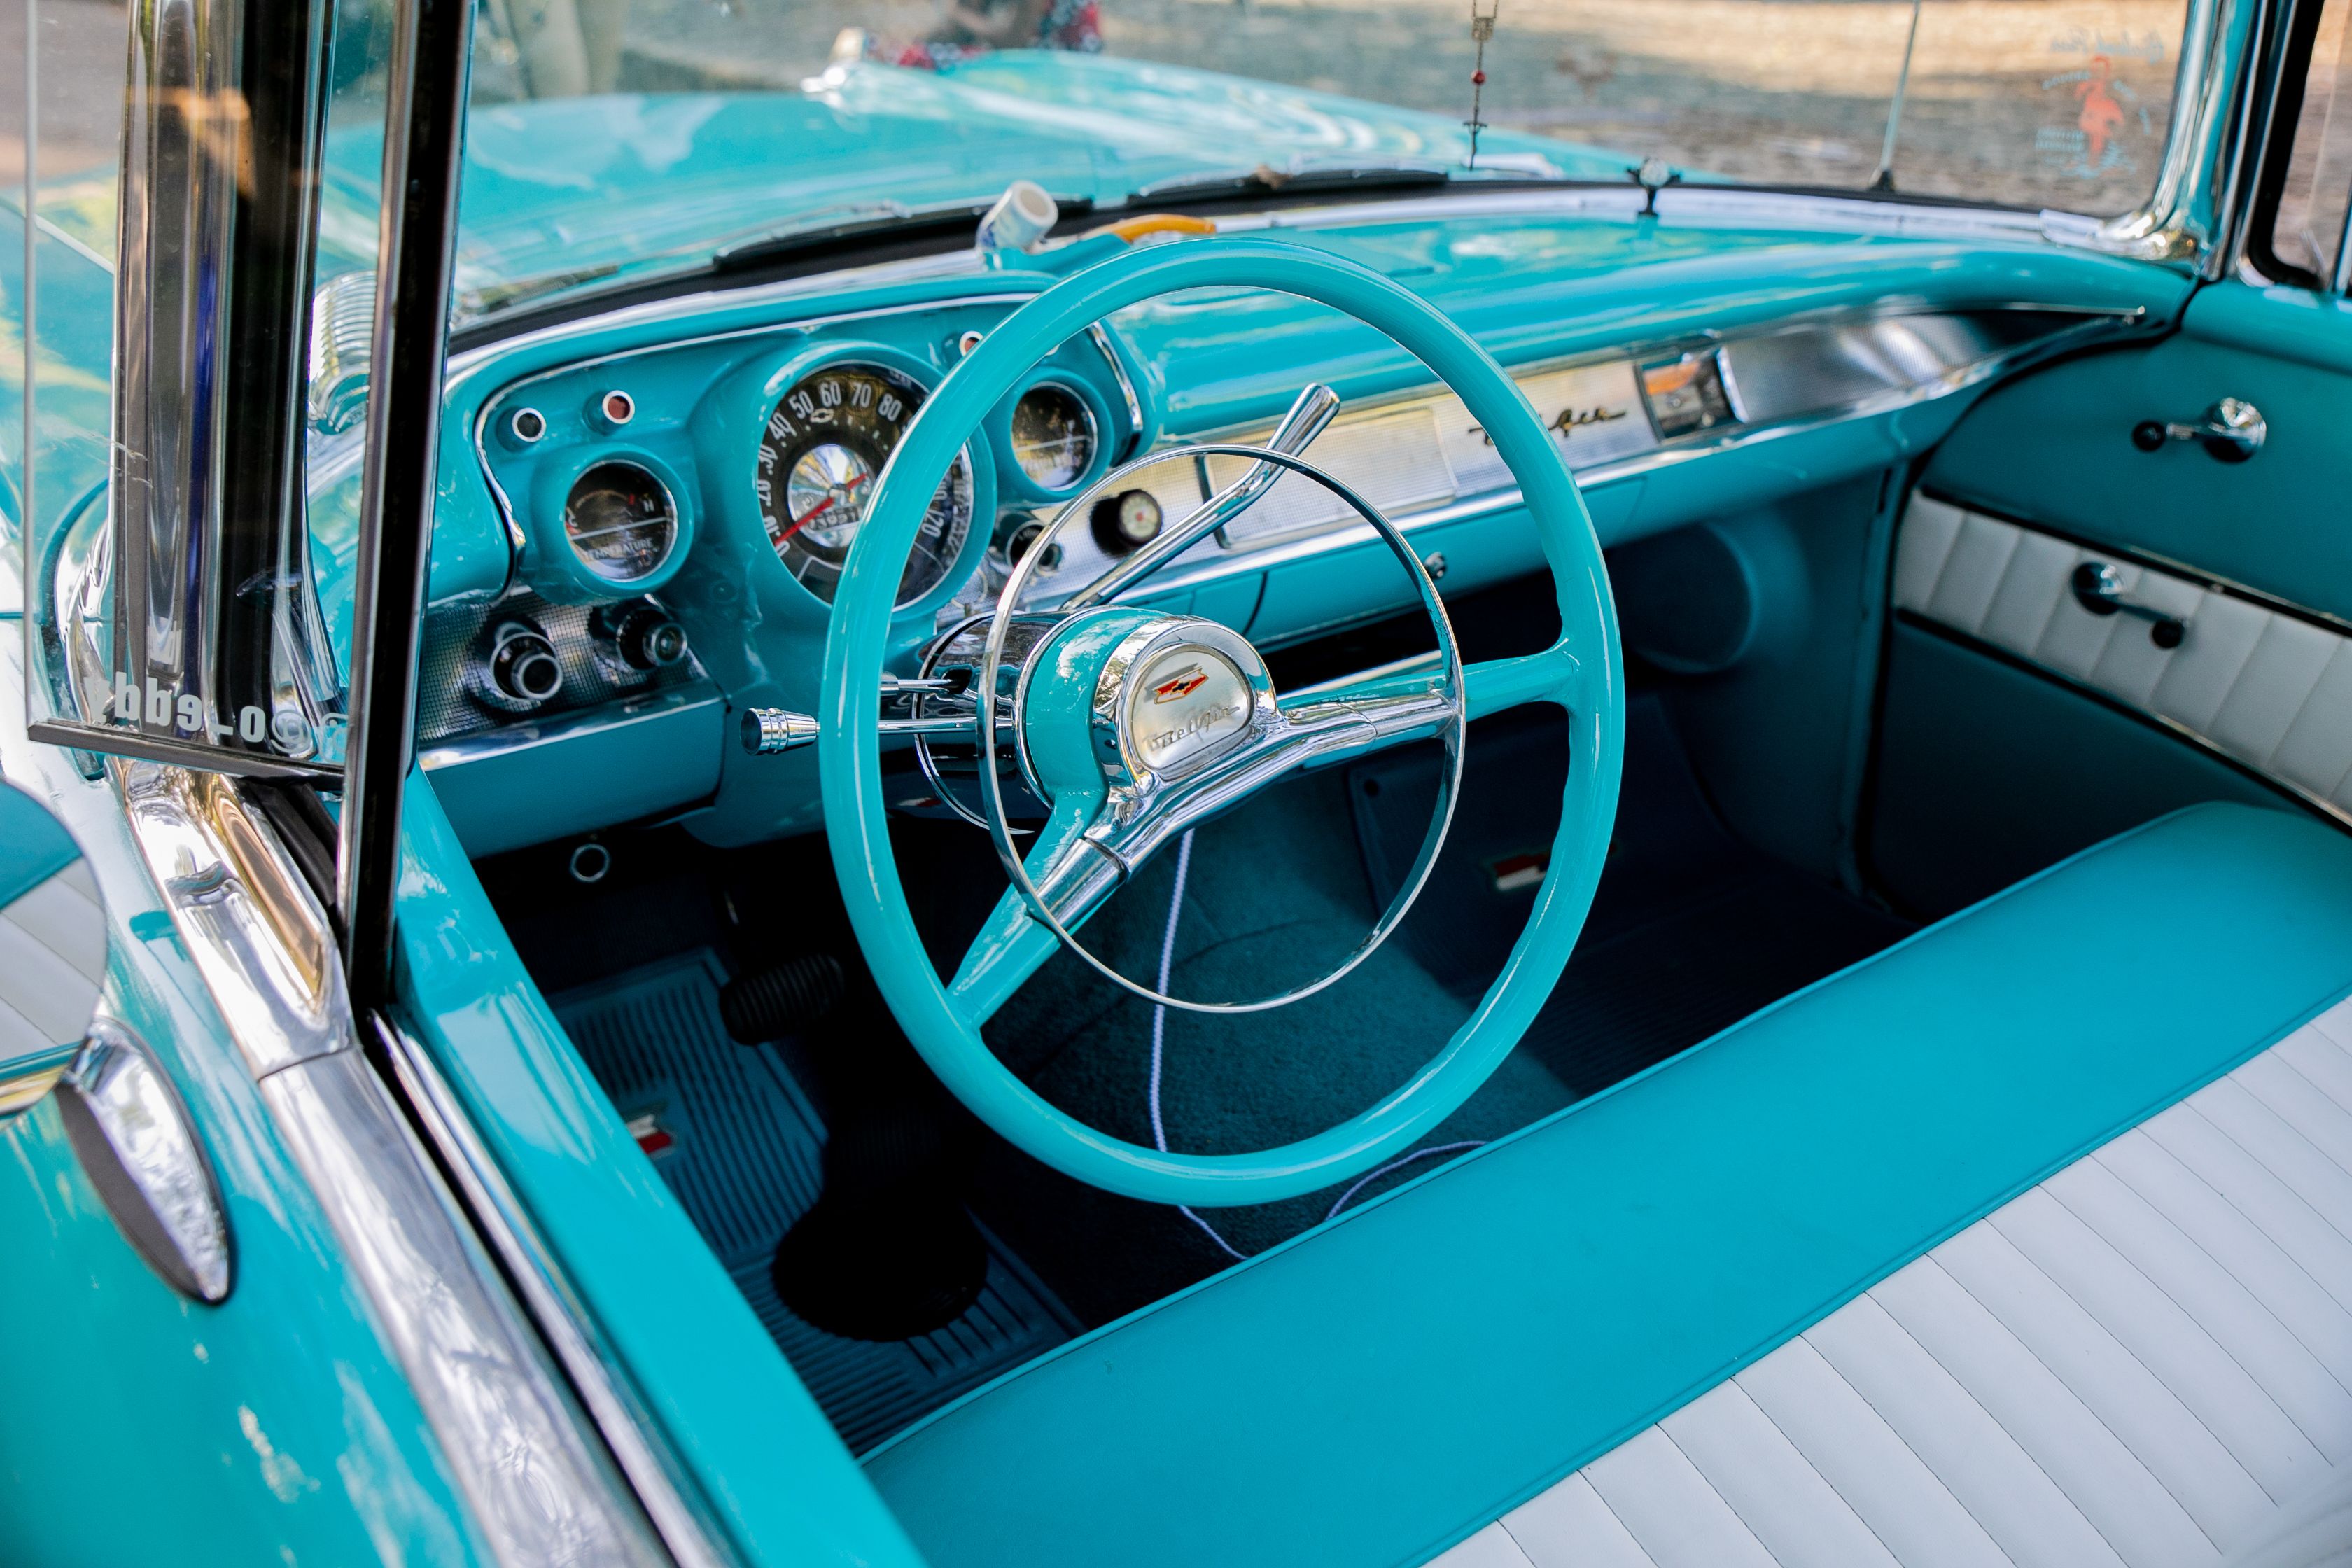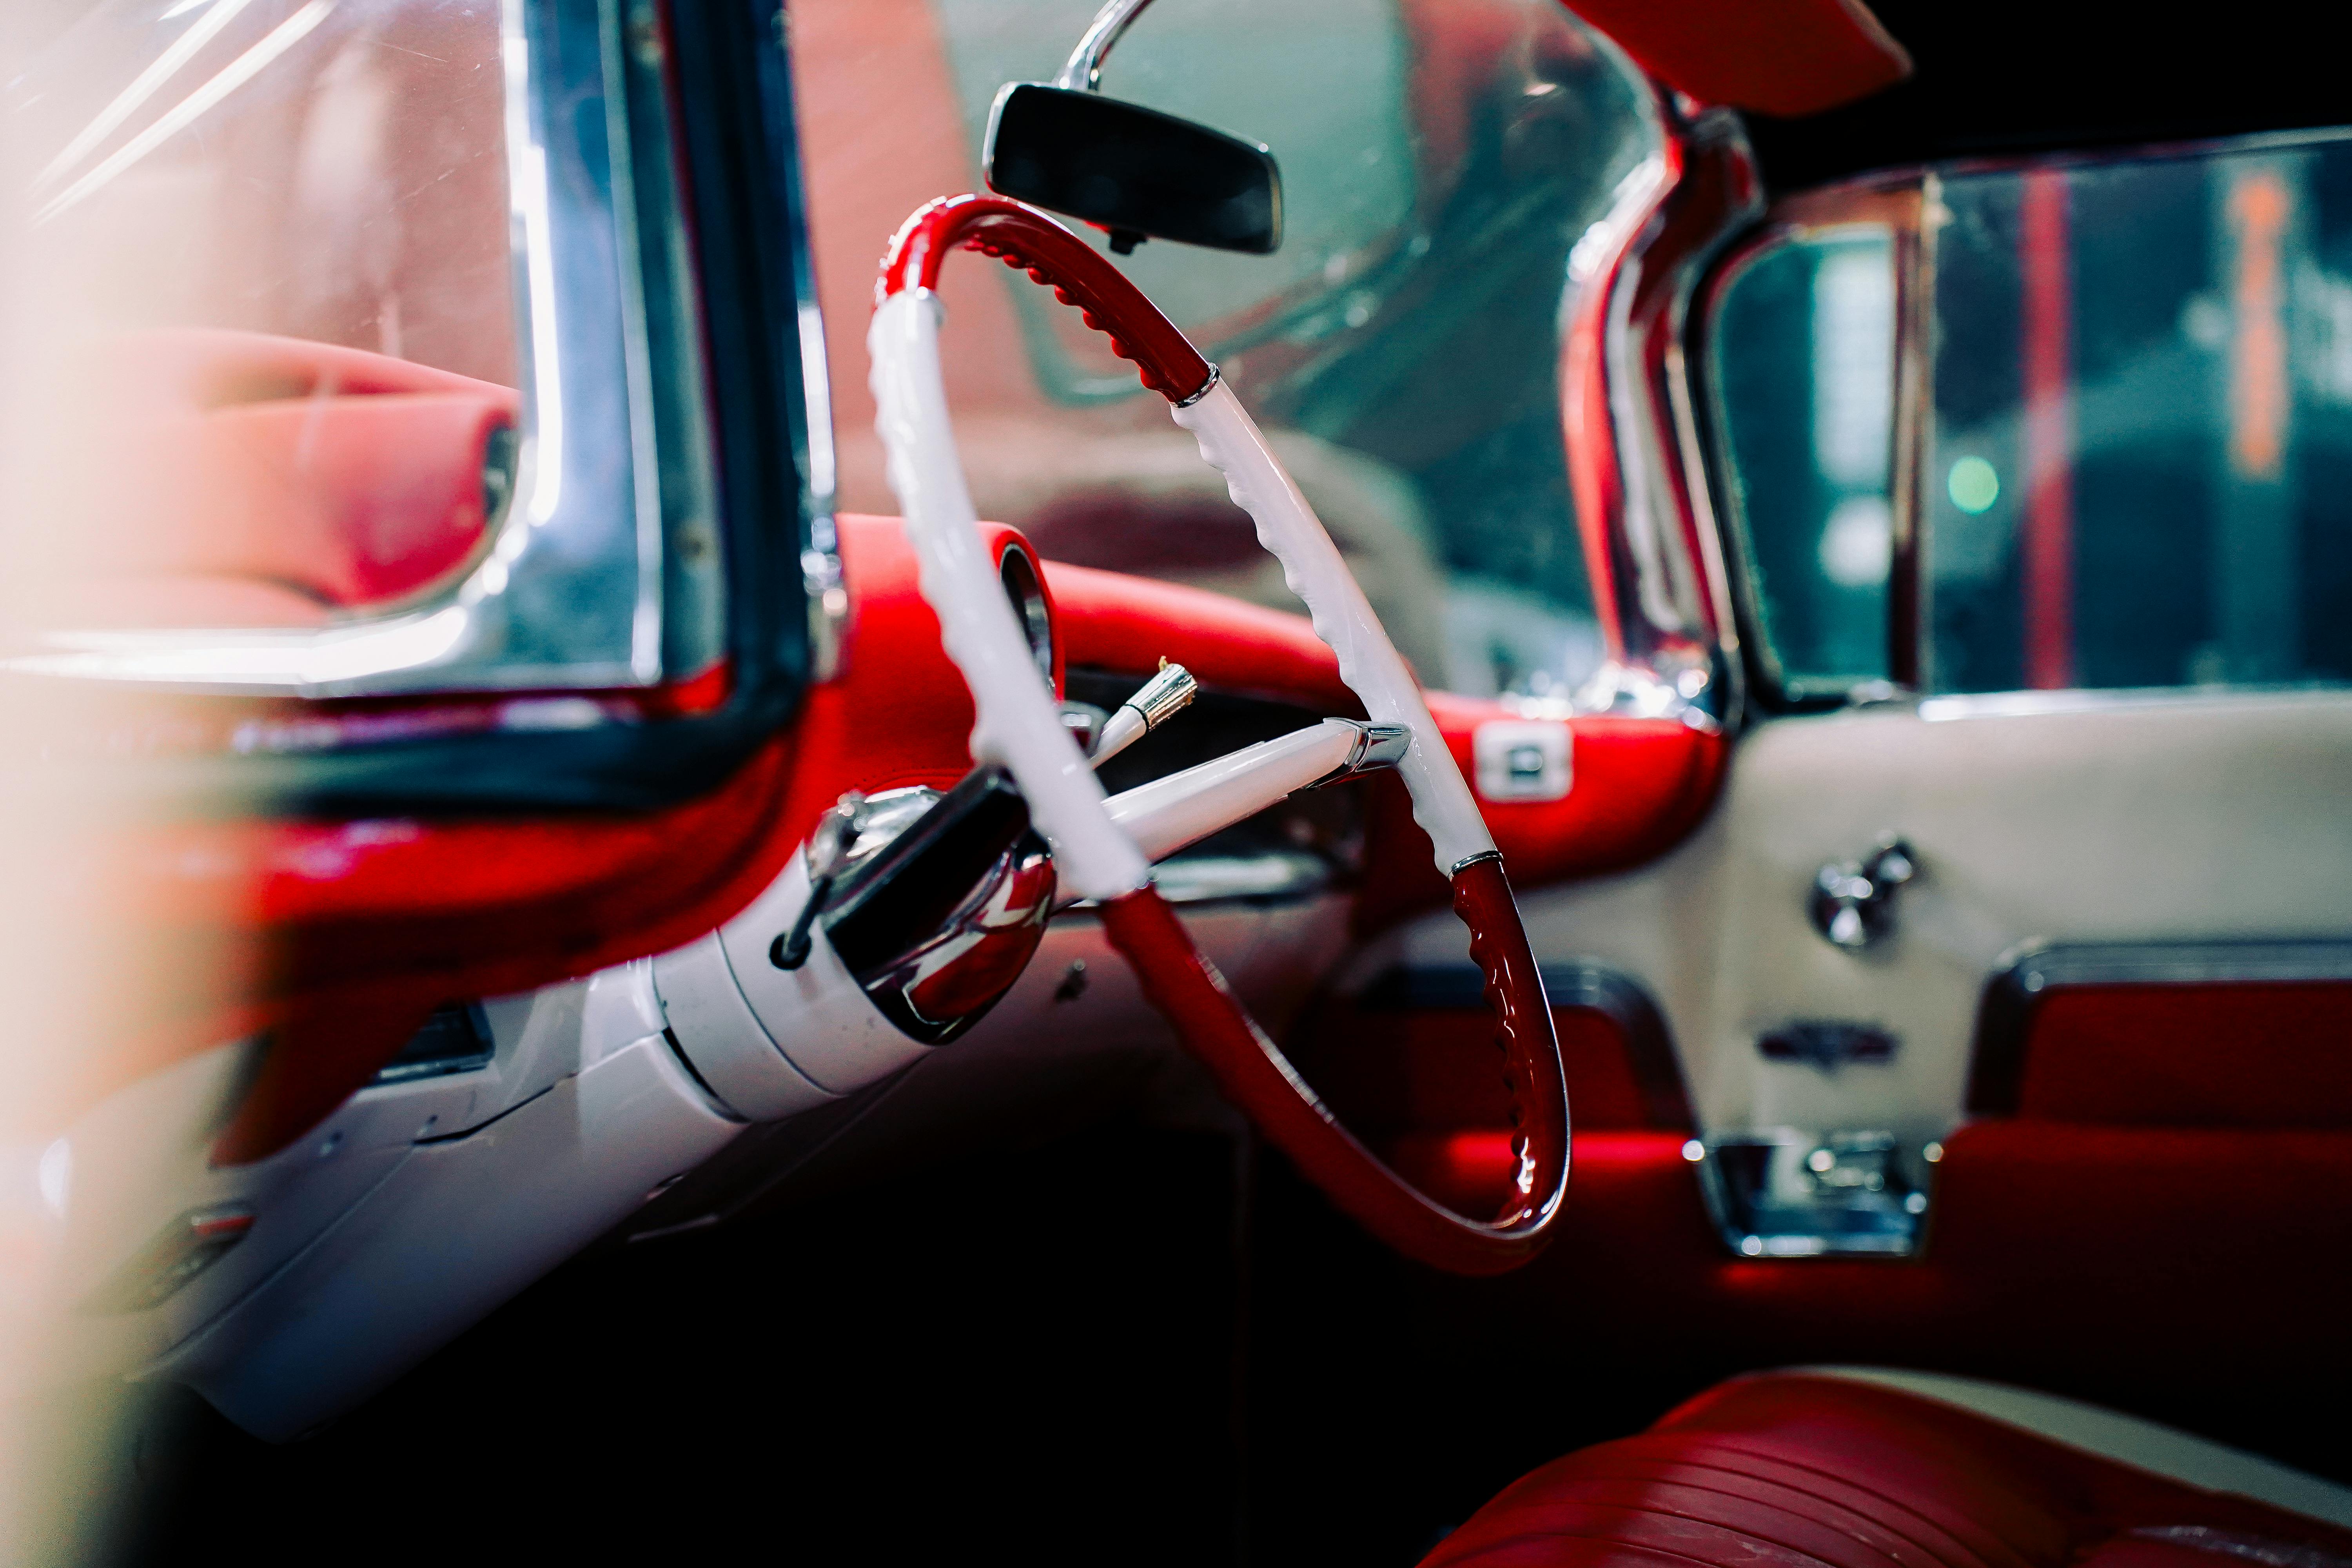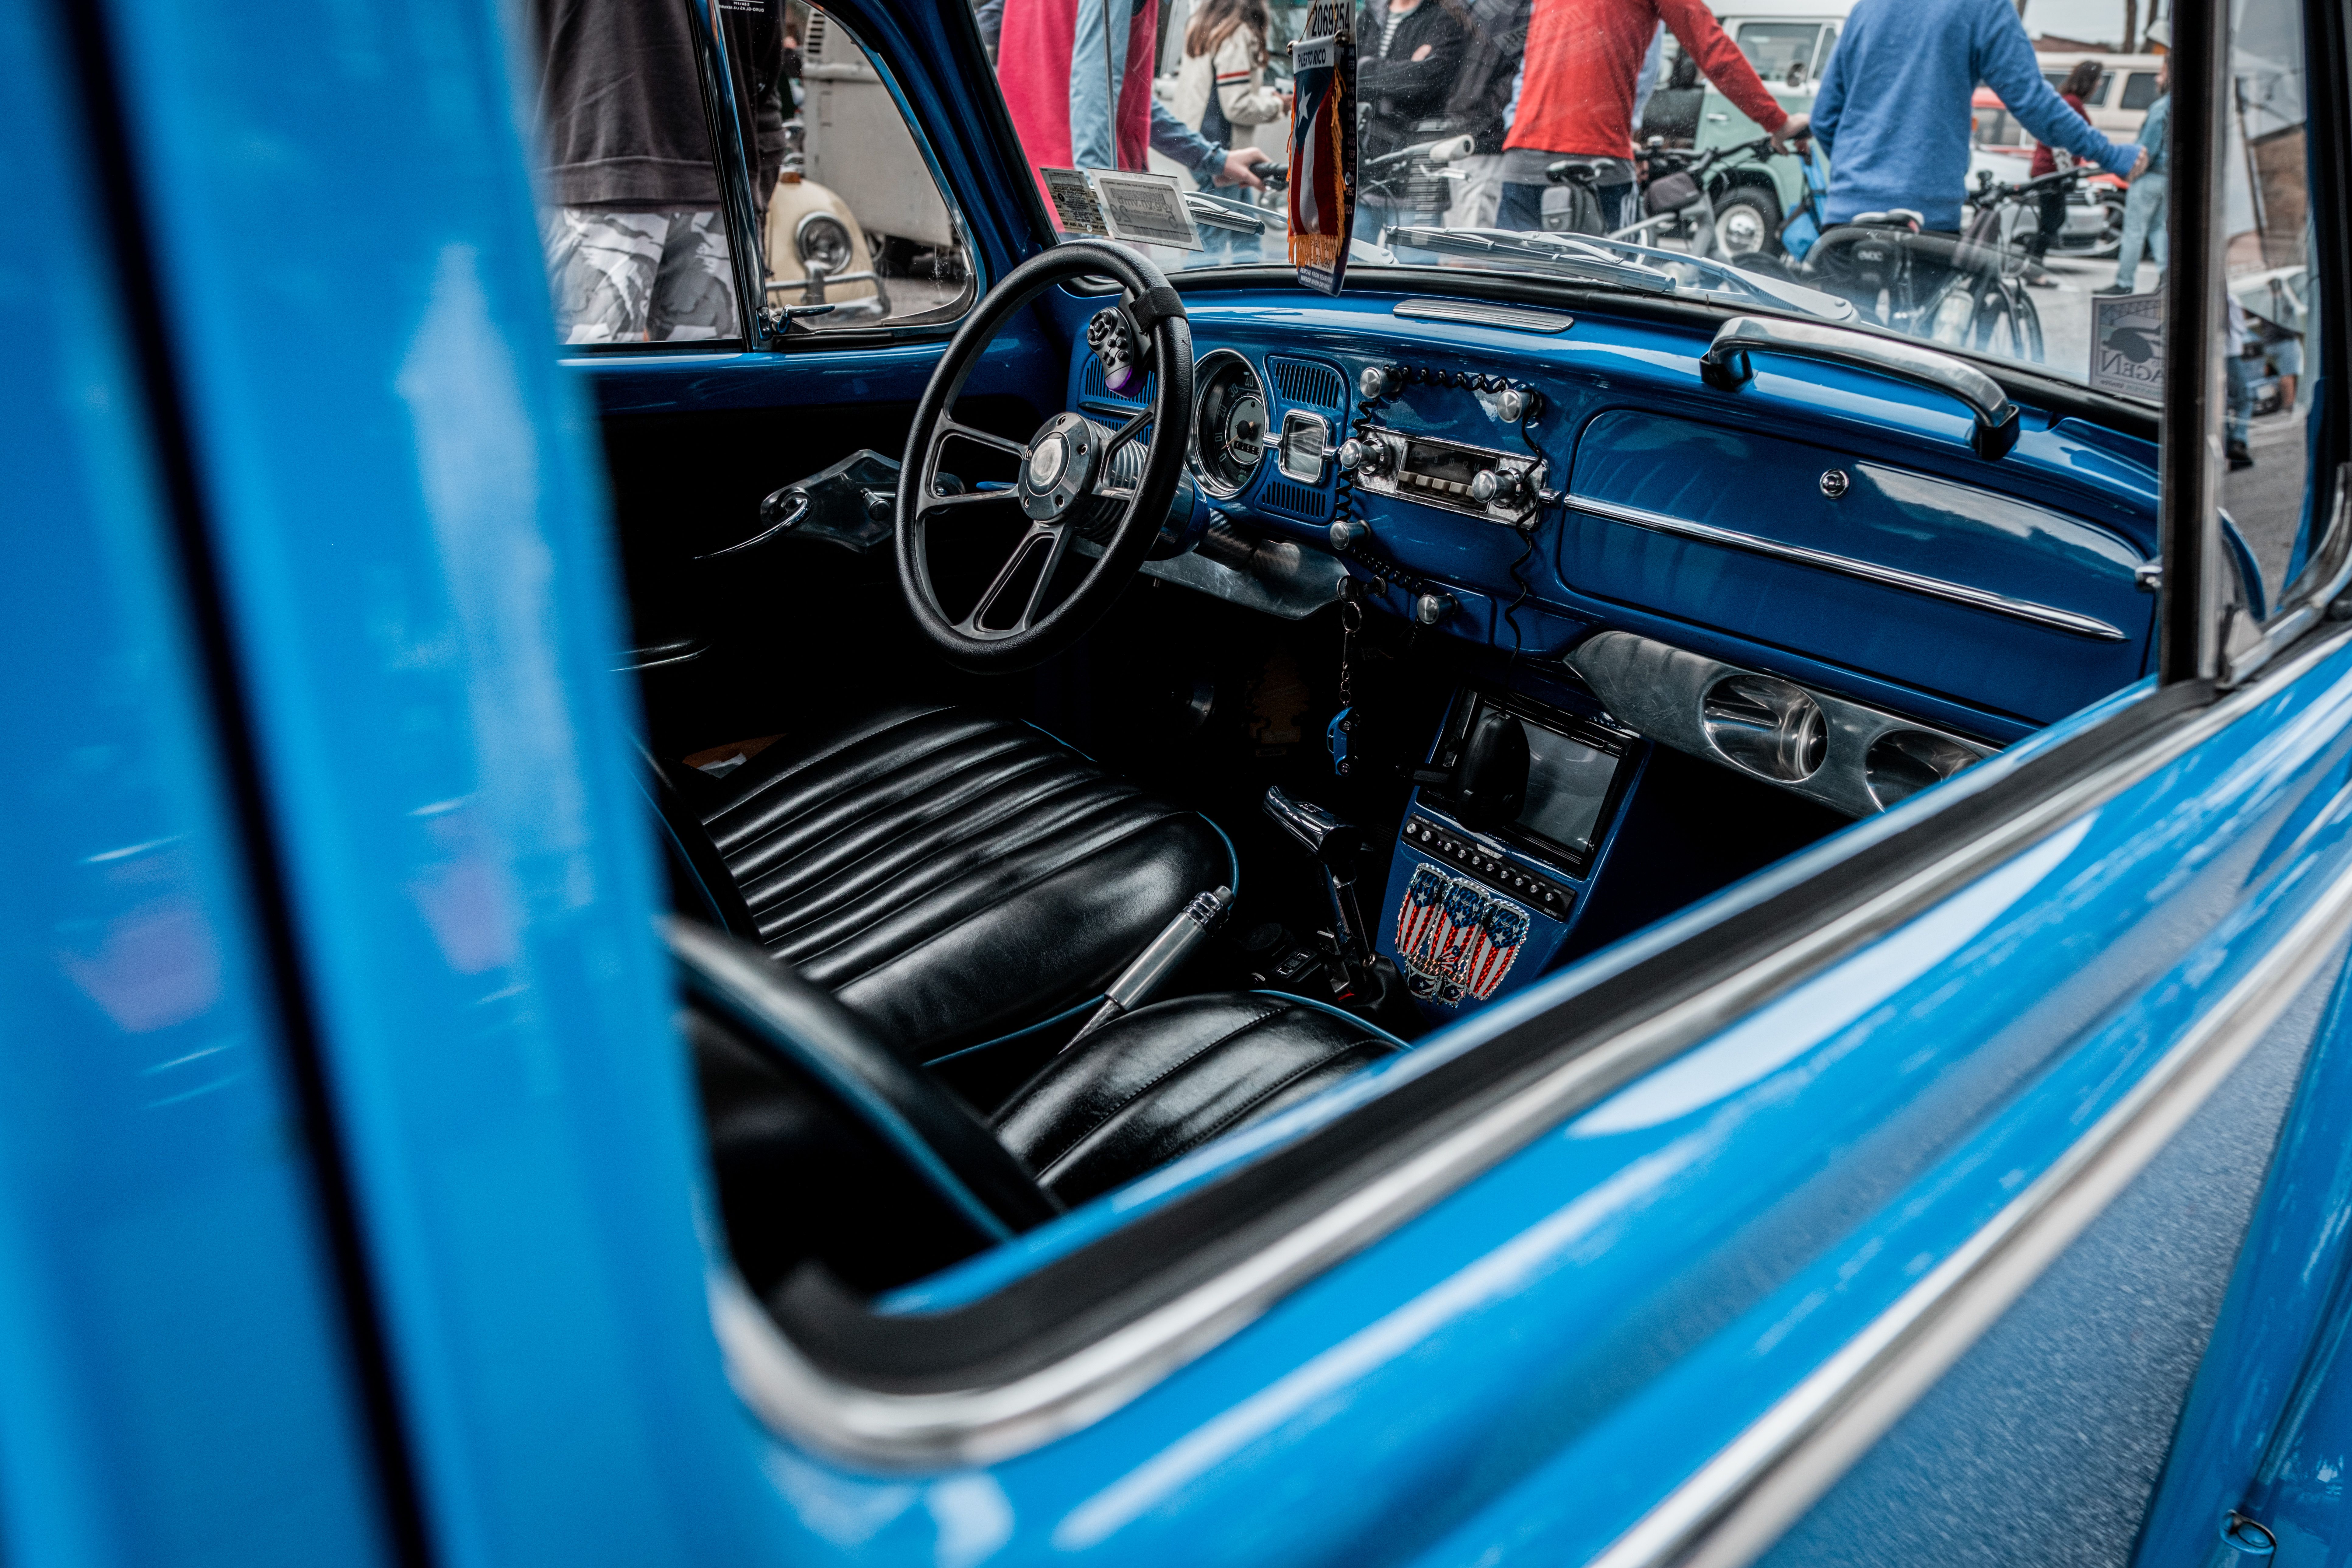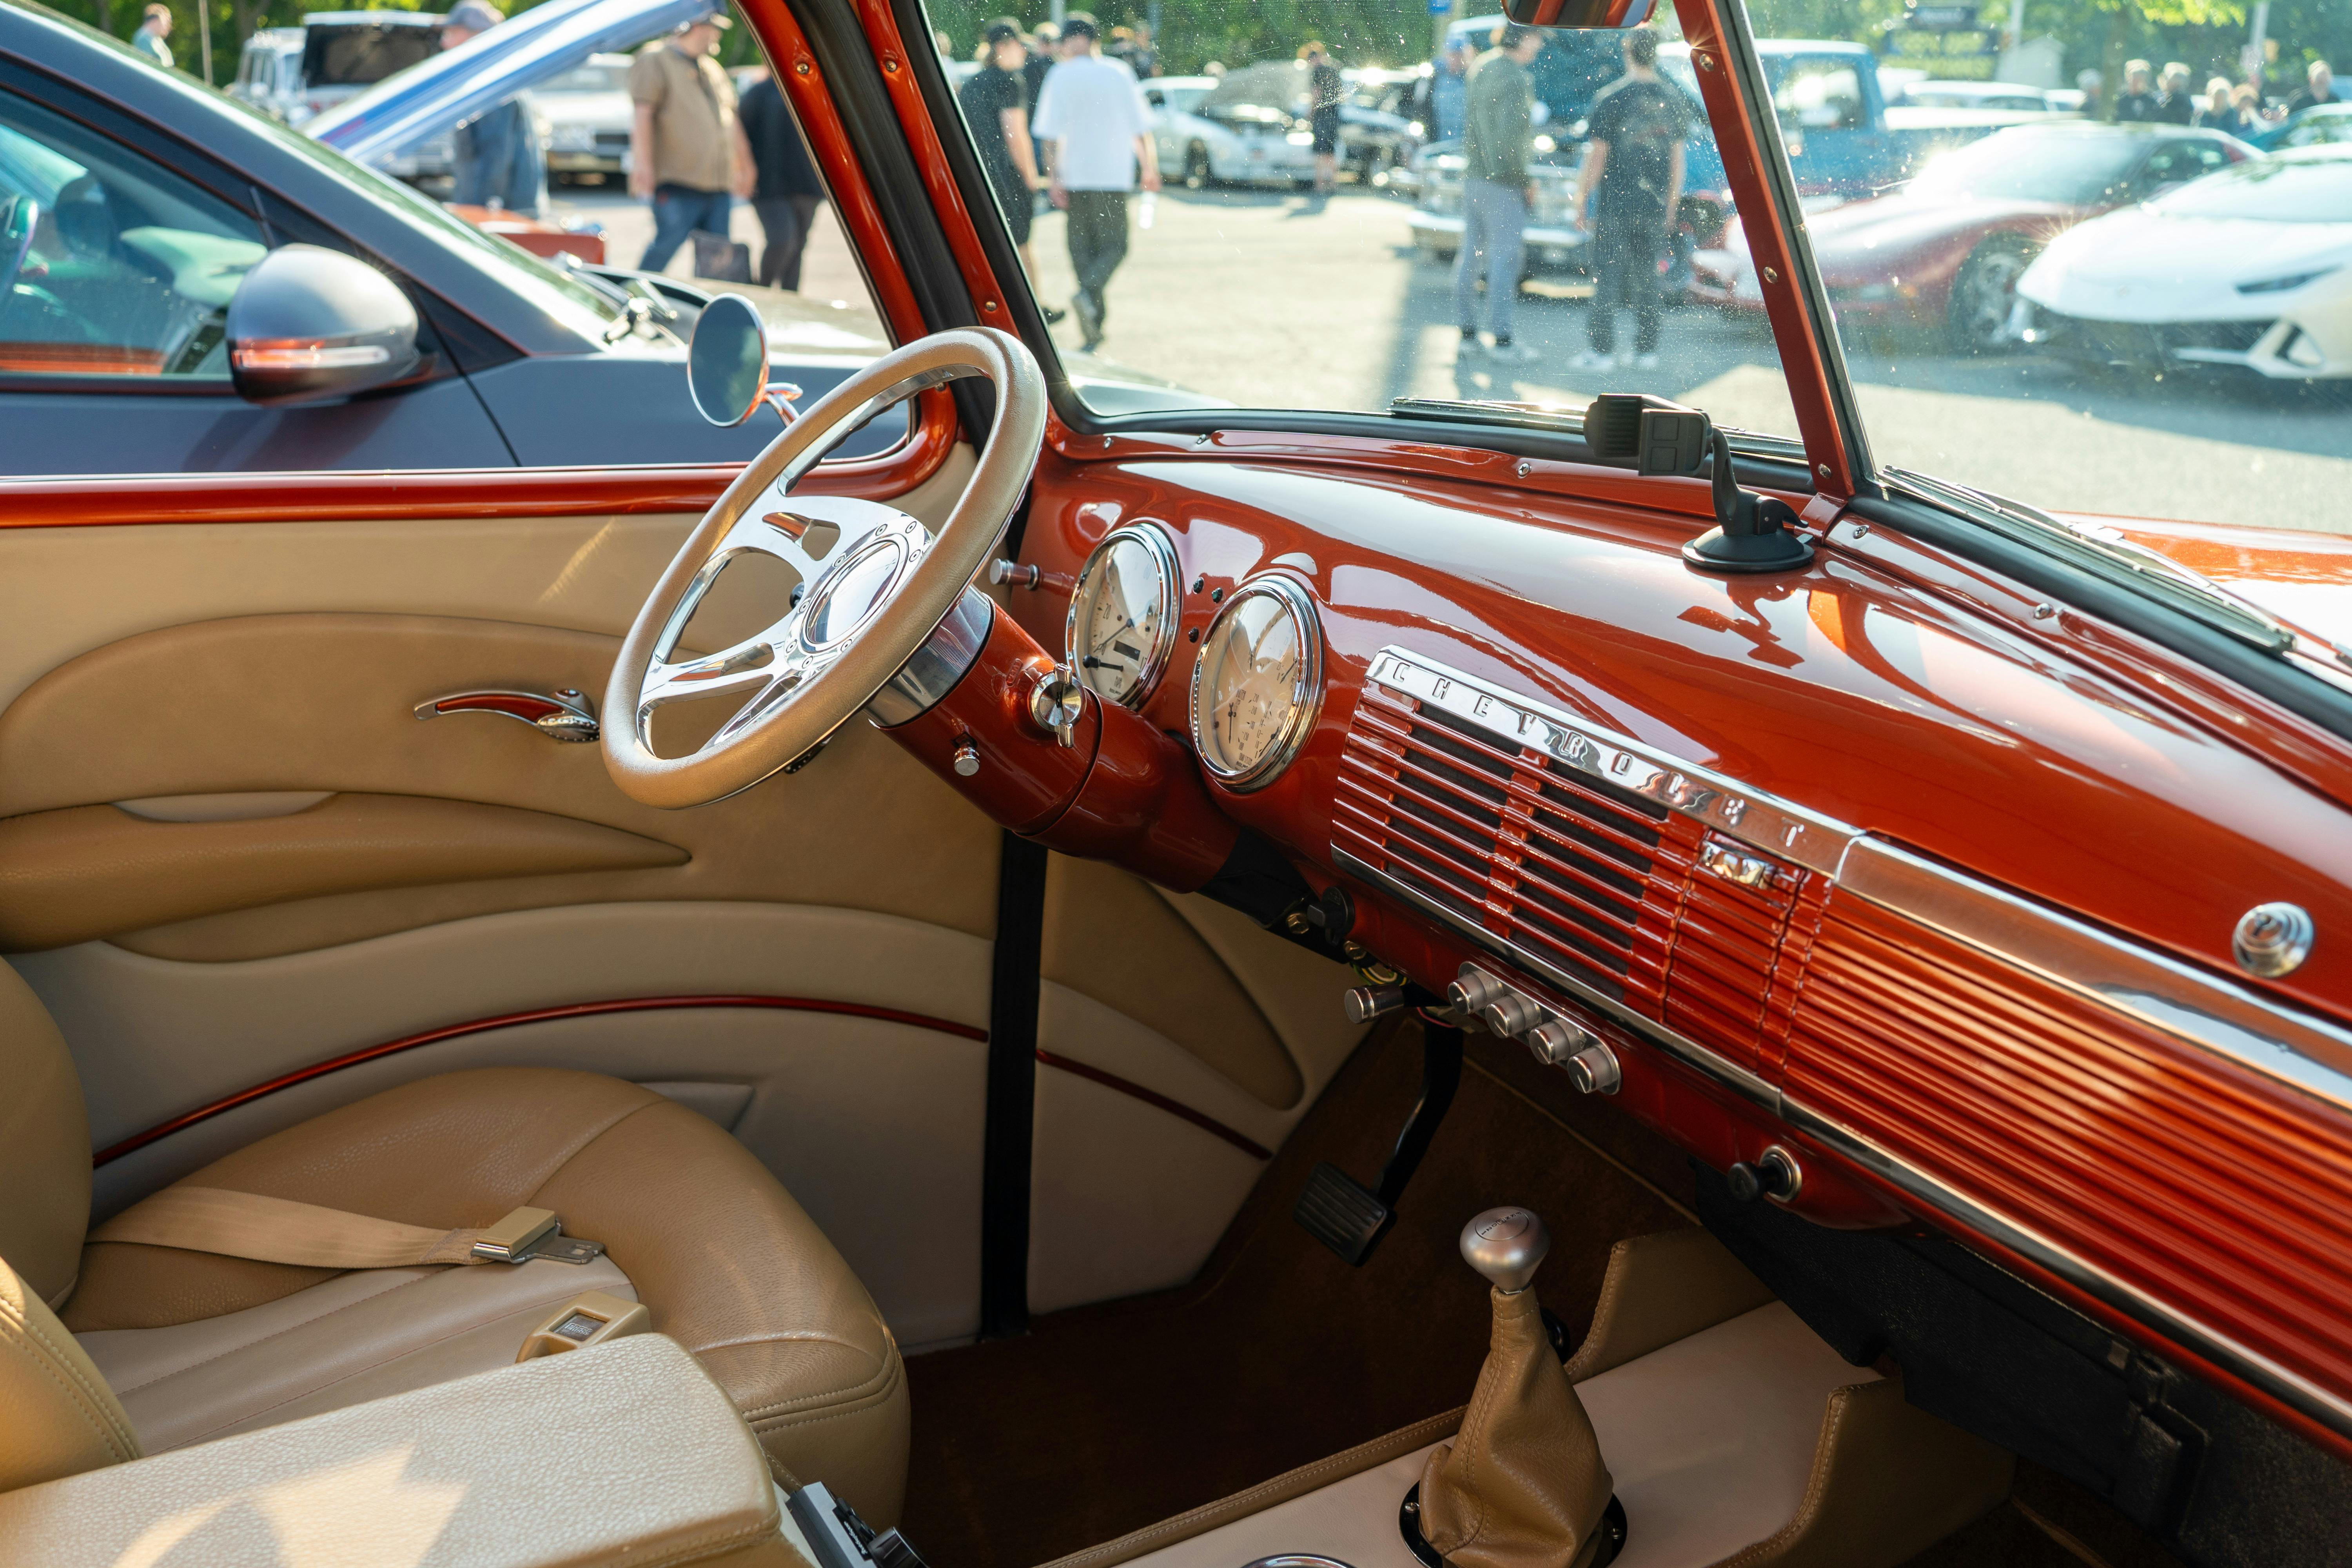
Introduction to Classic Car Upholstery Restoration
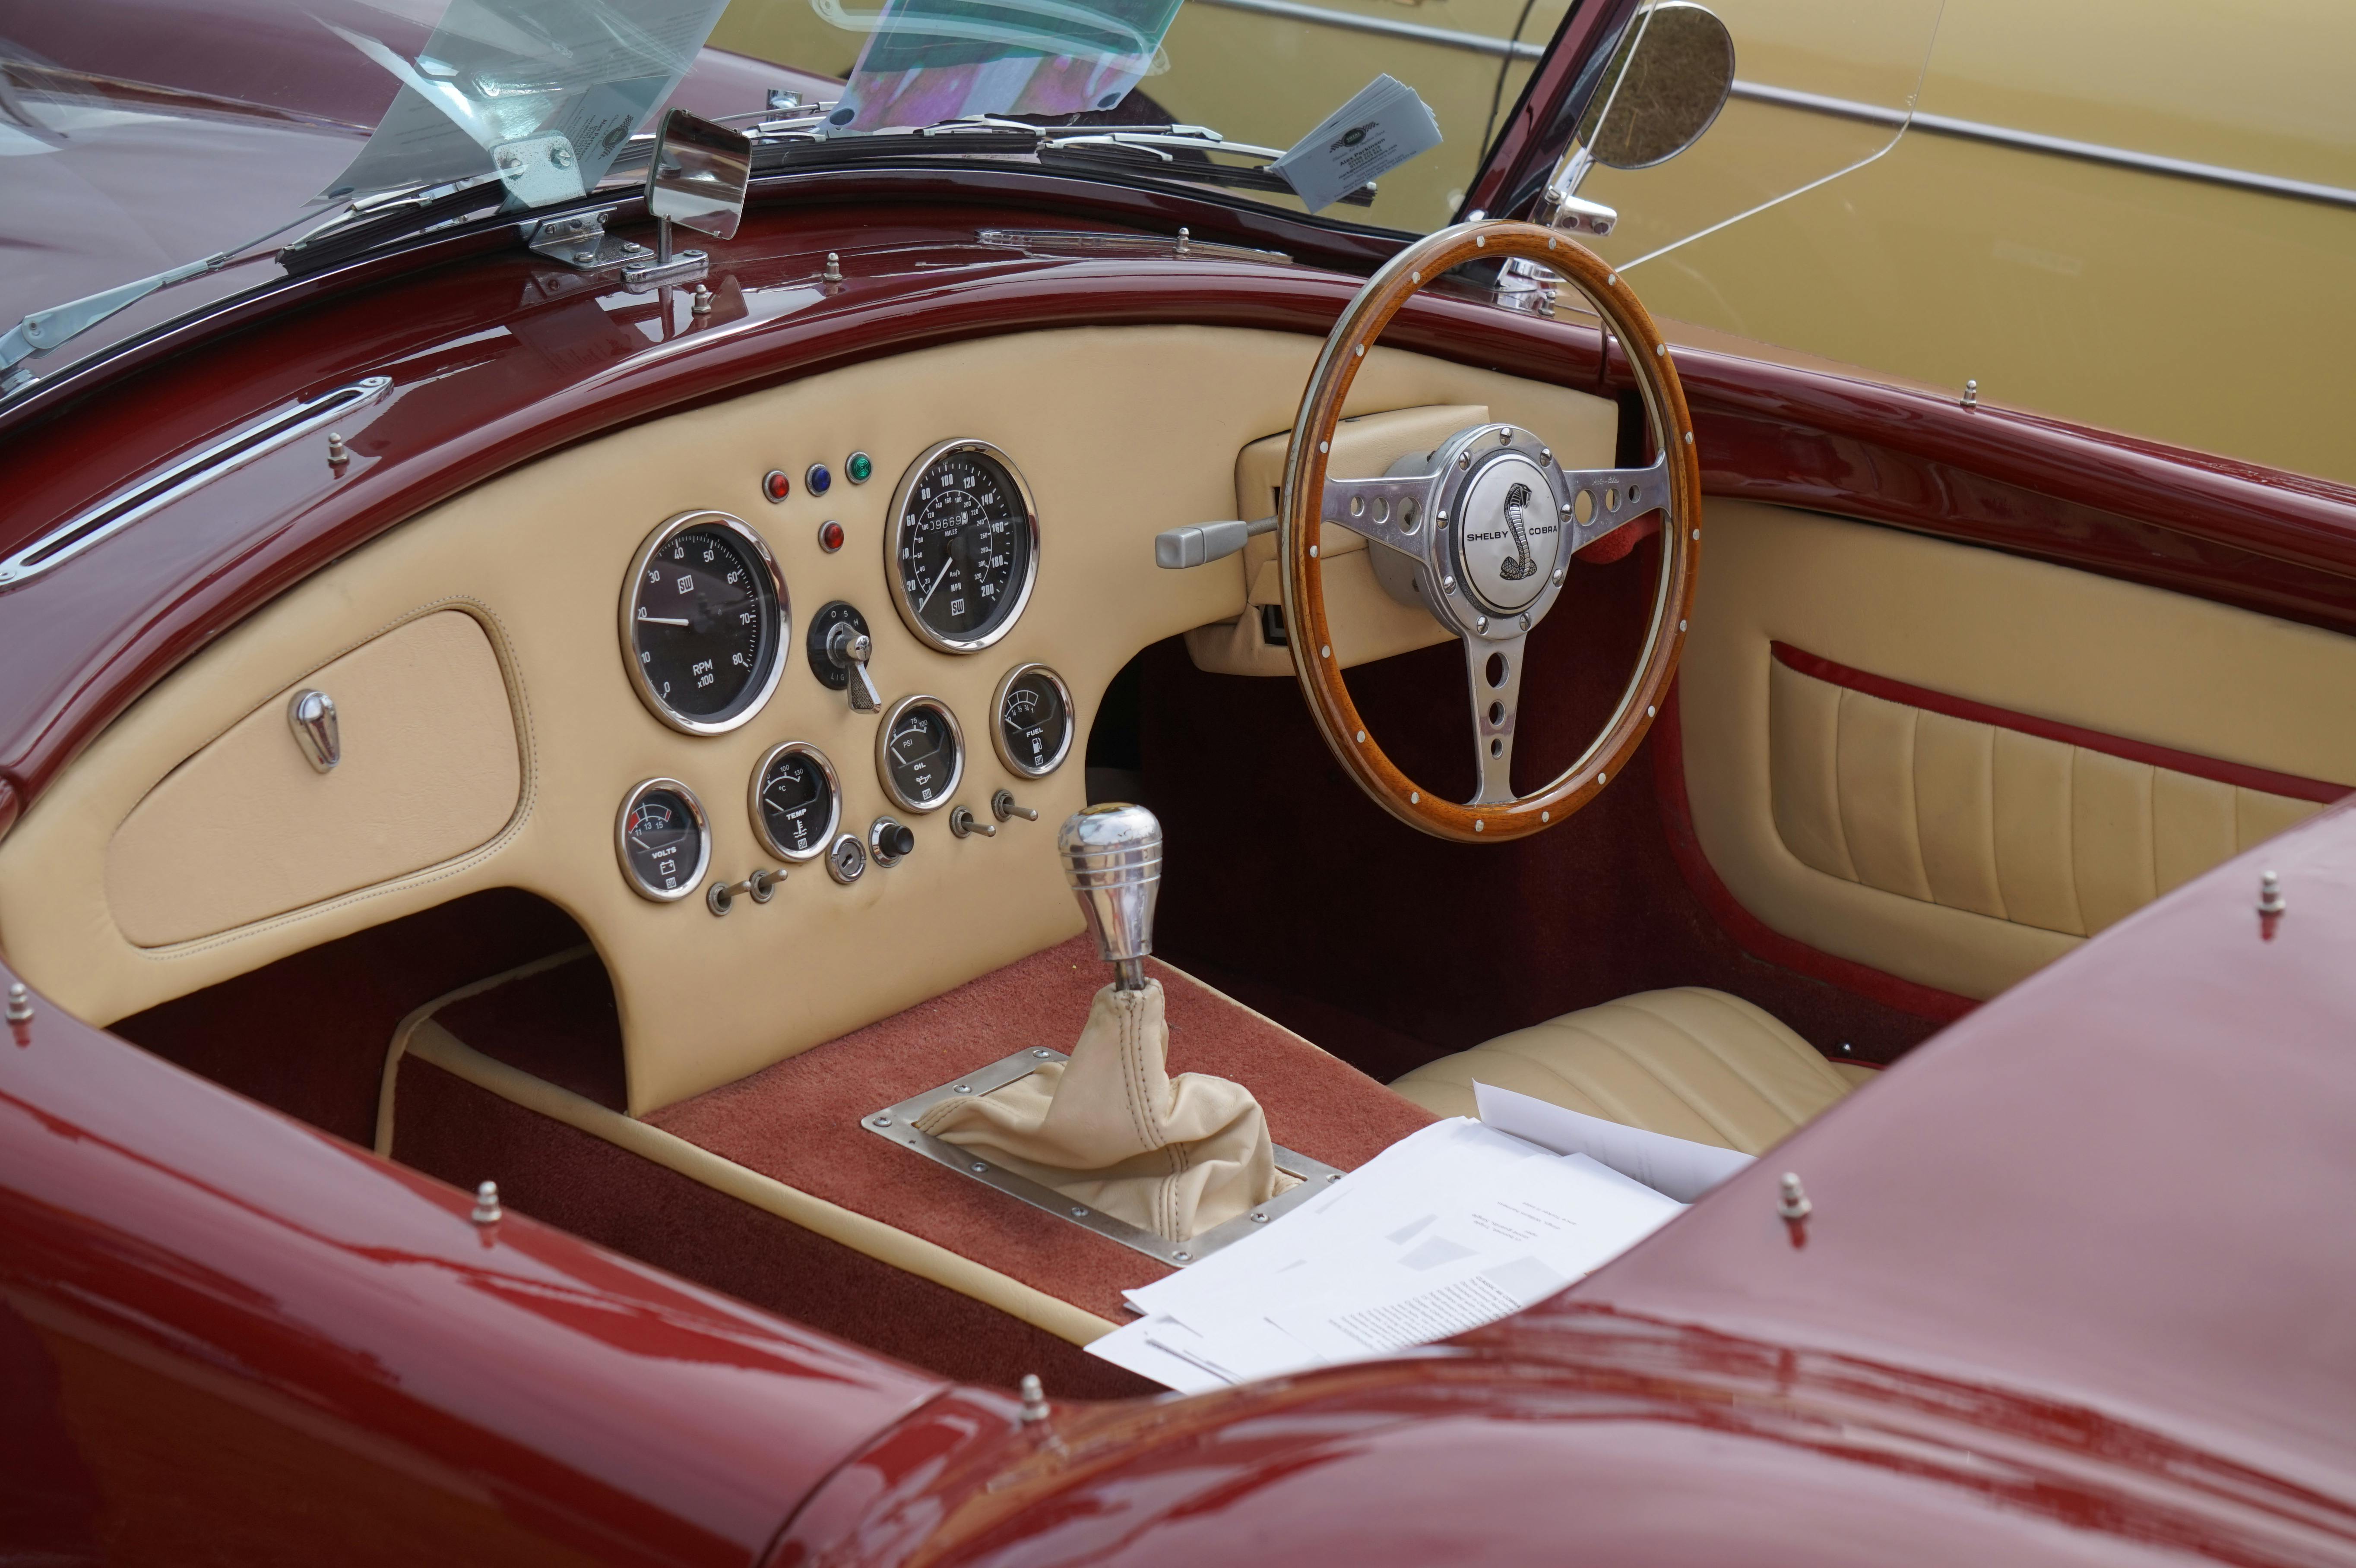
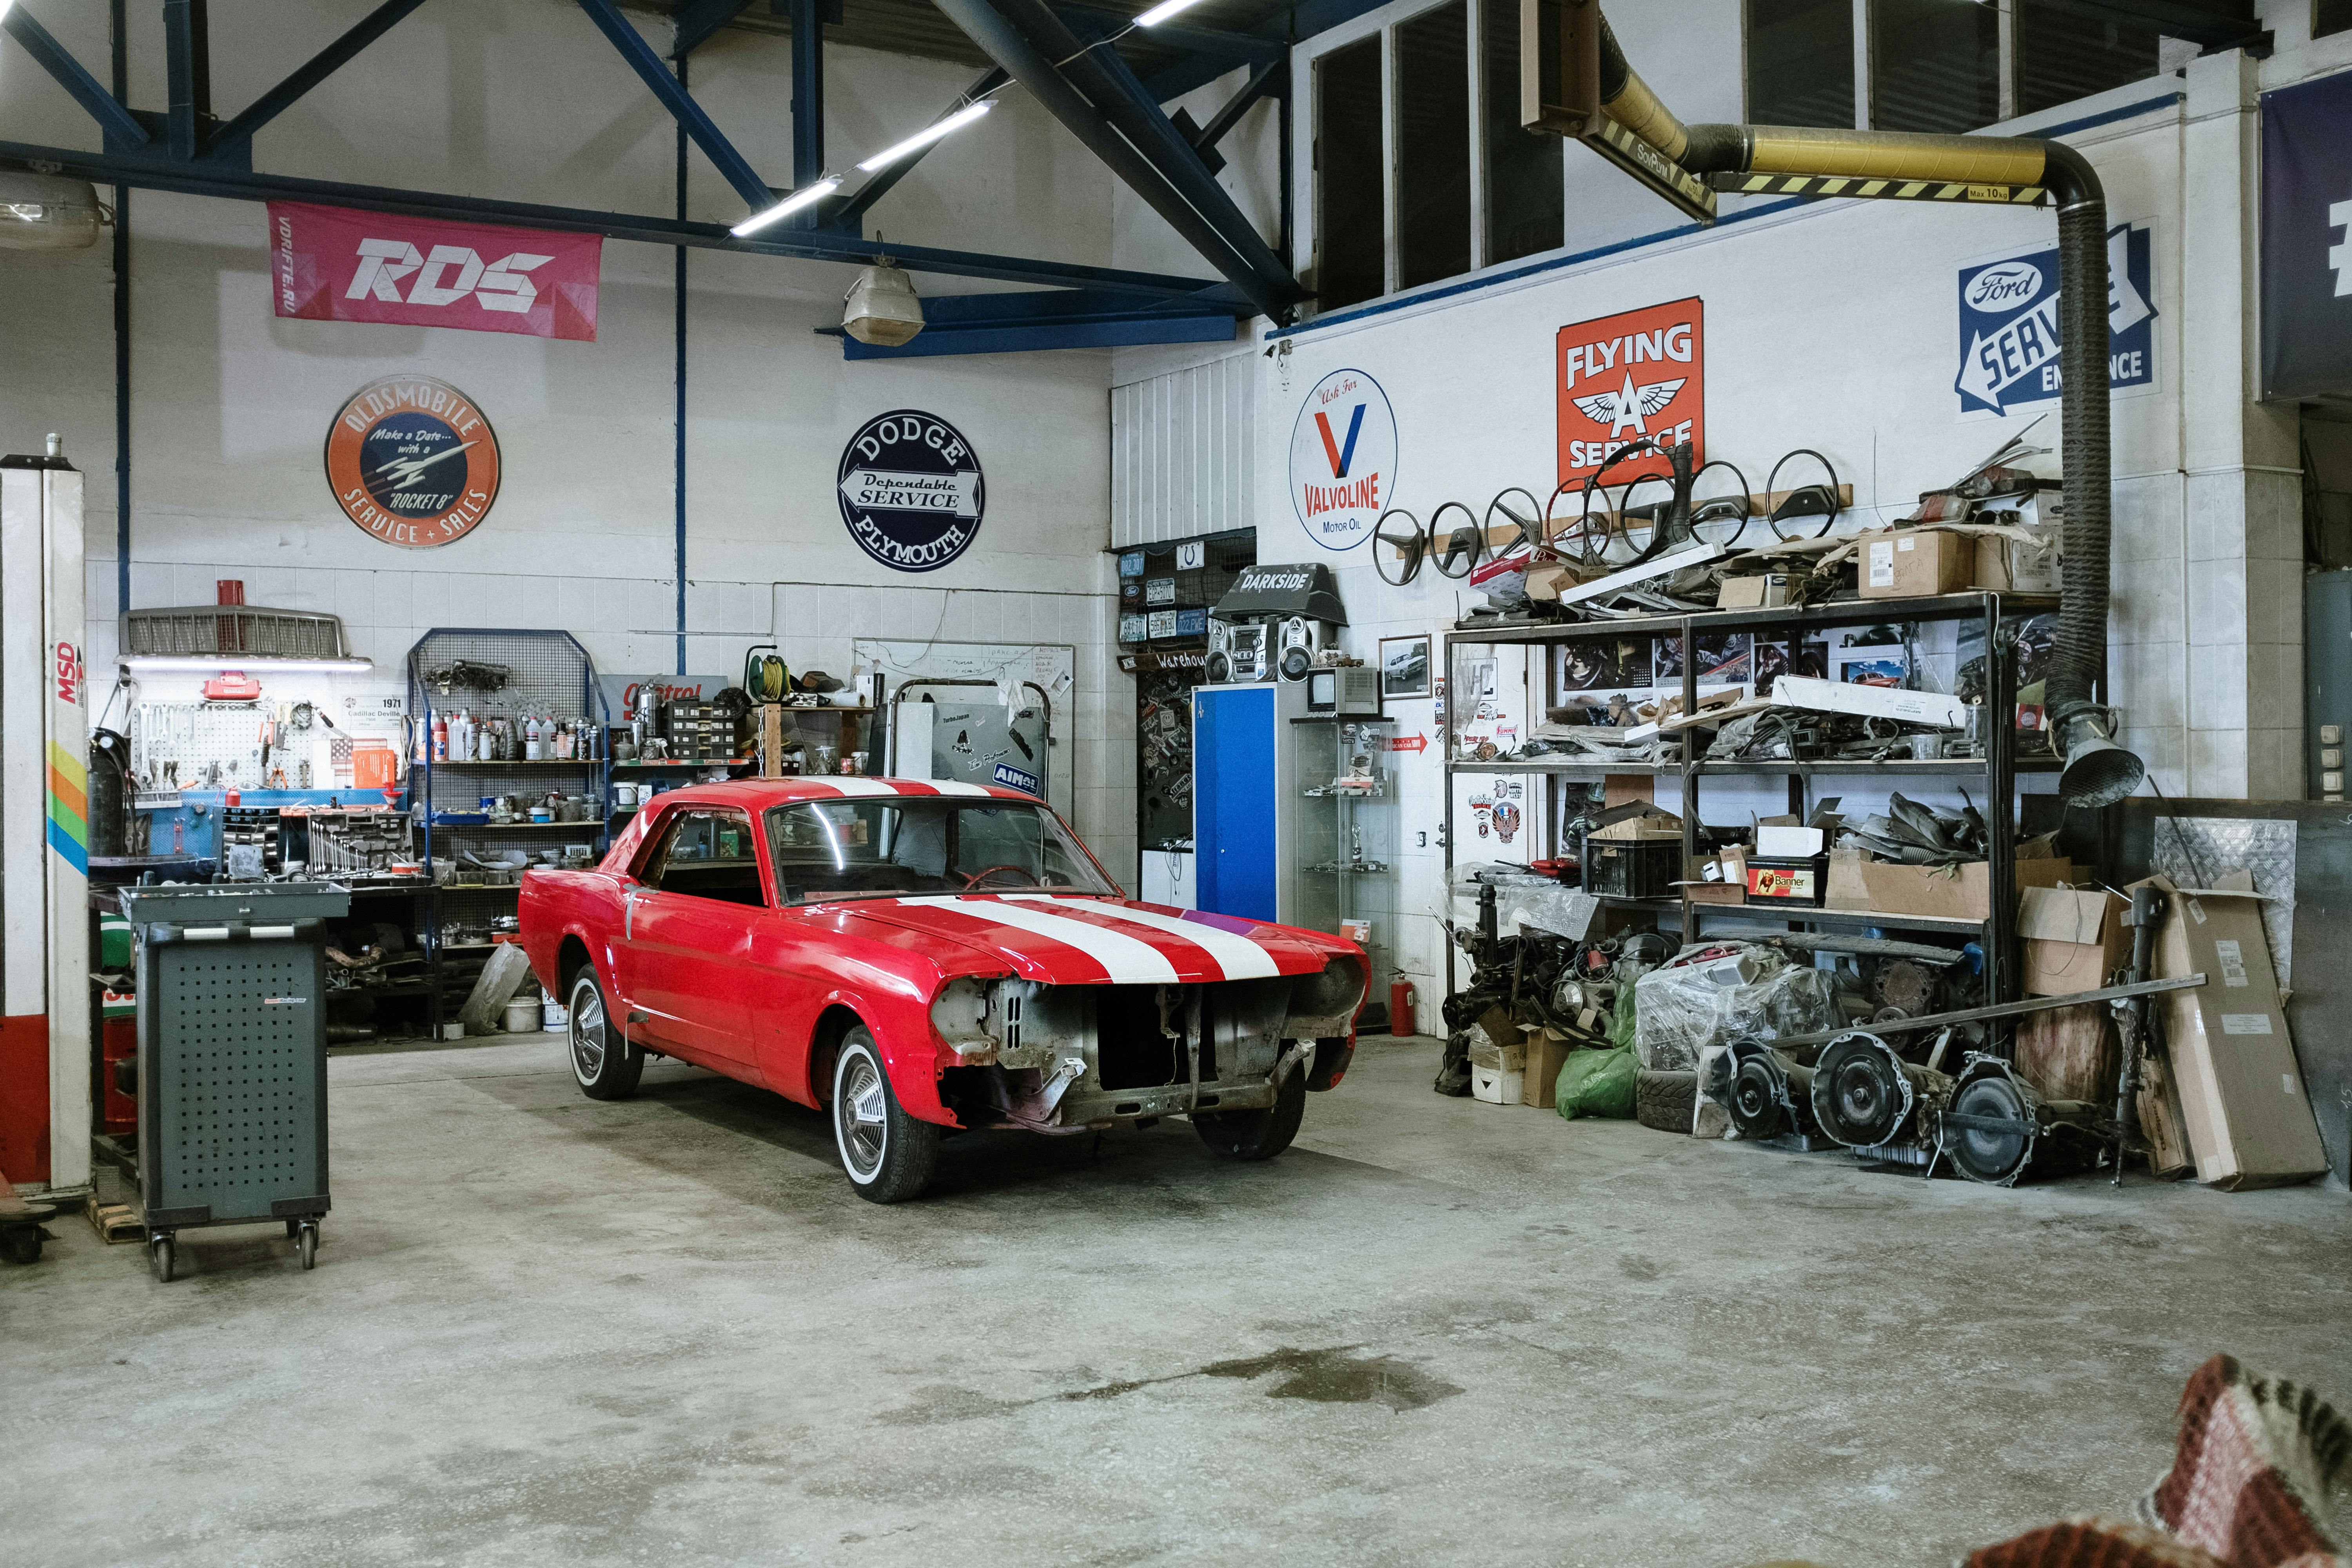
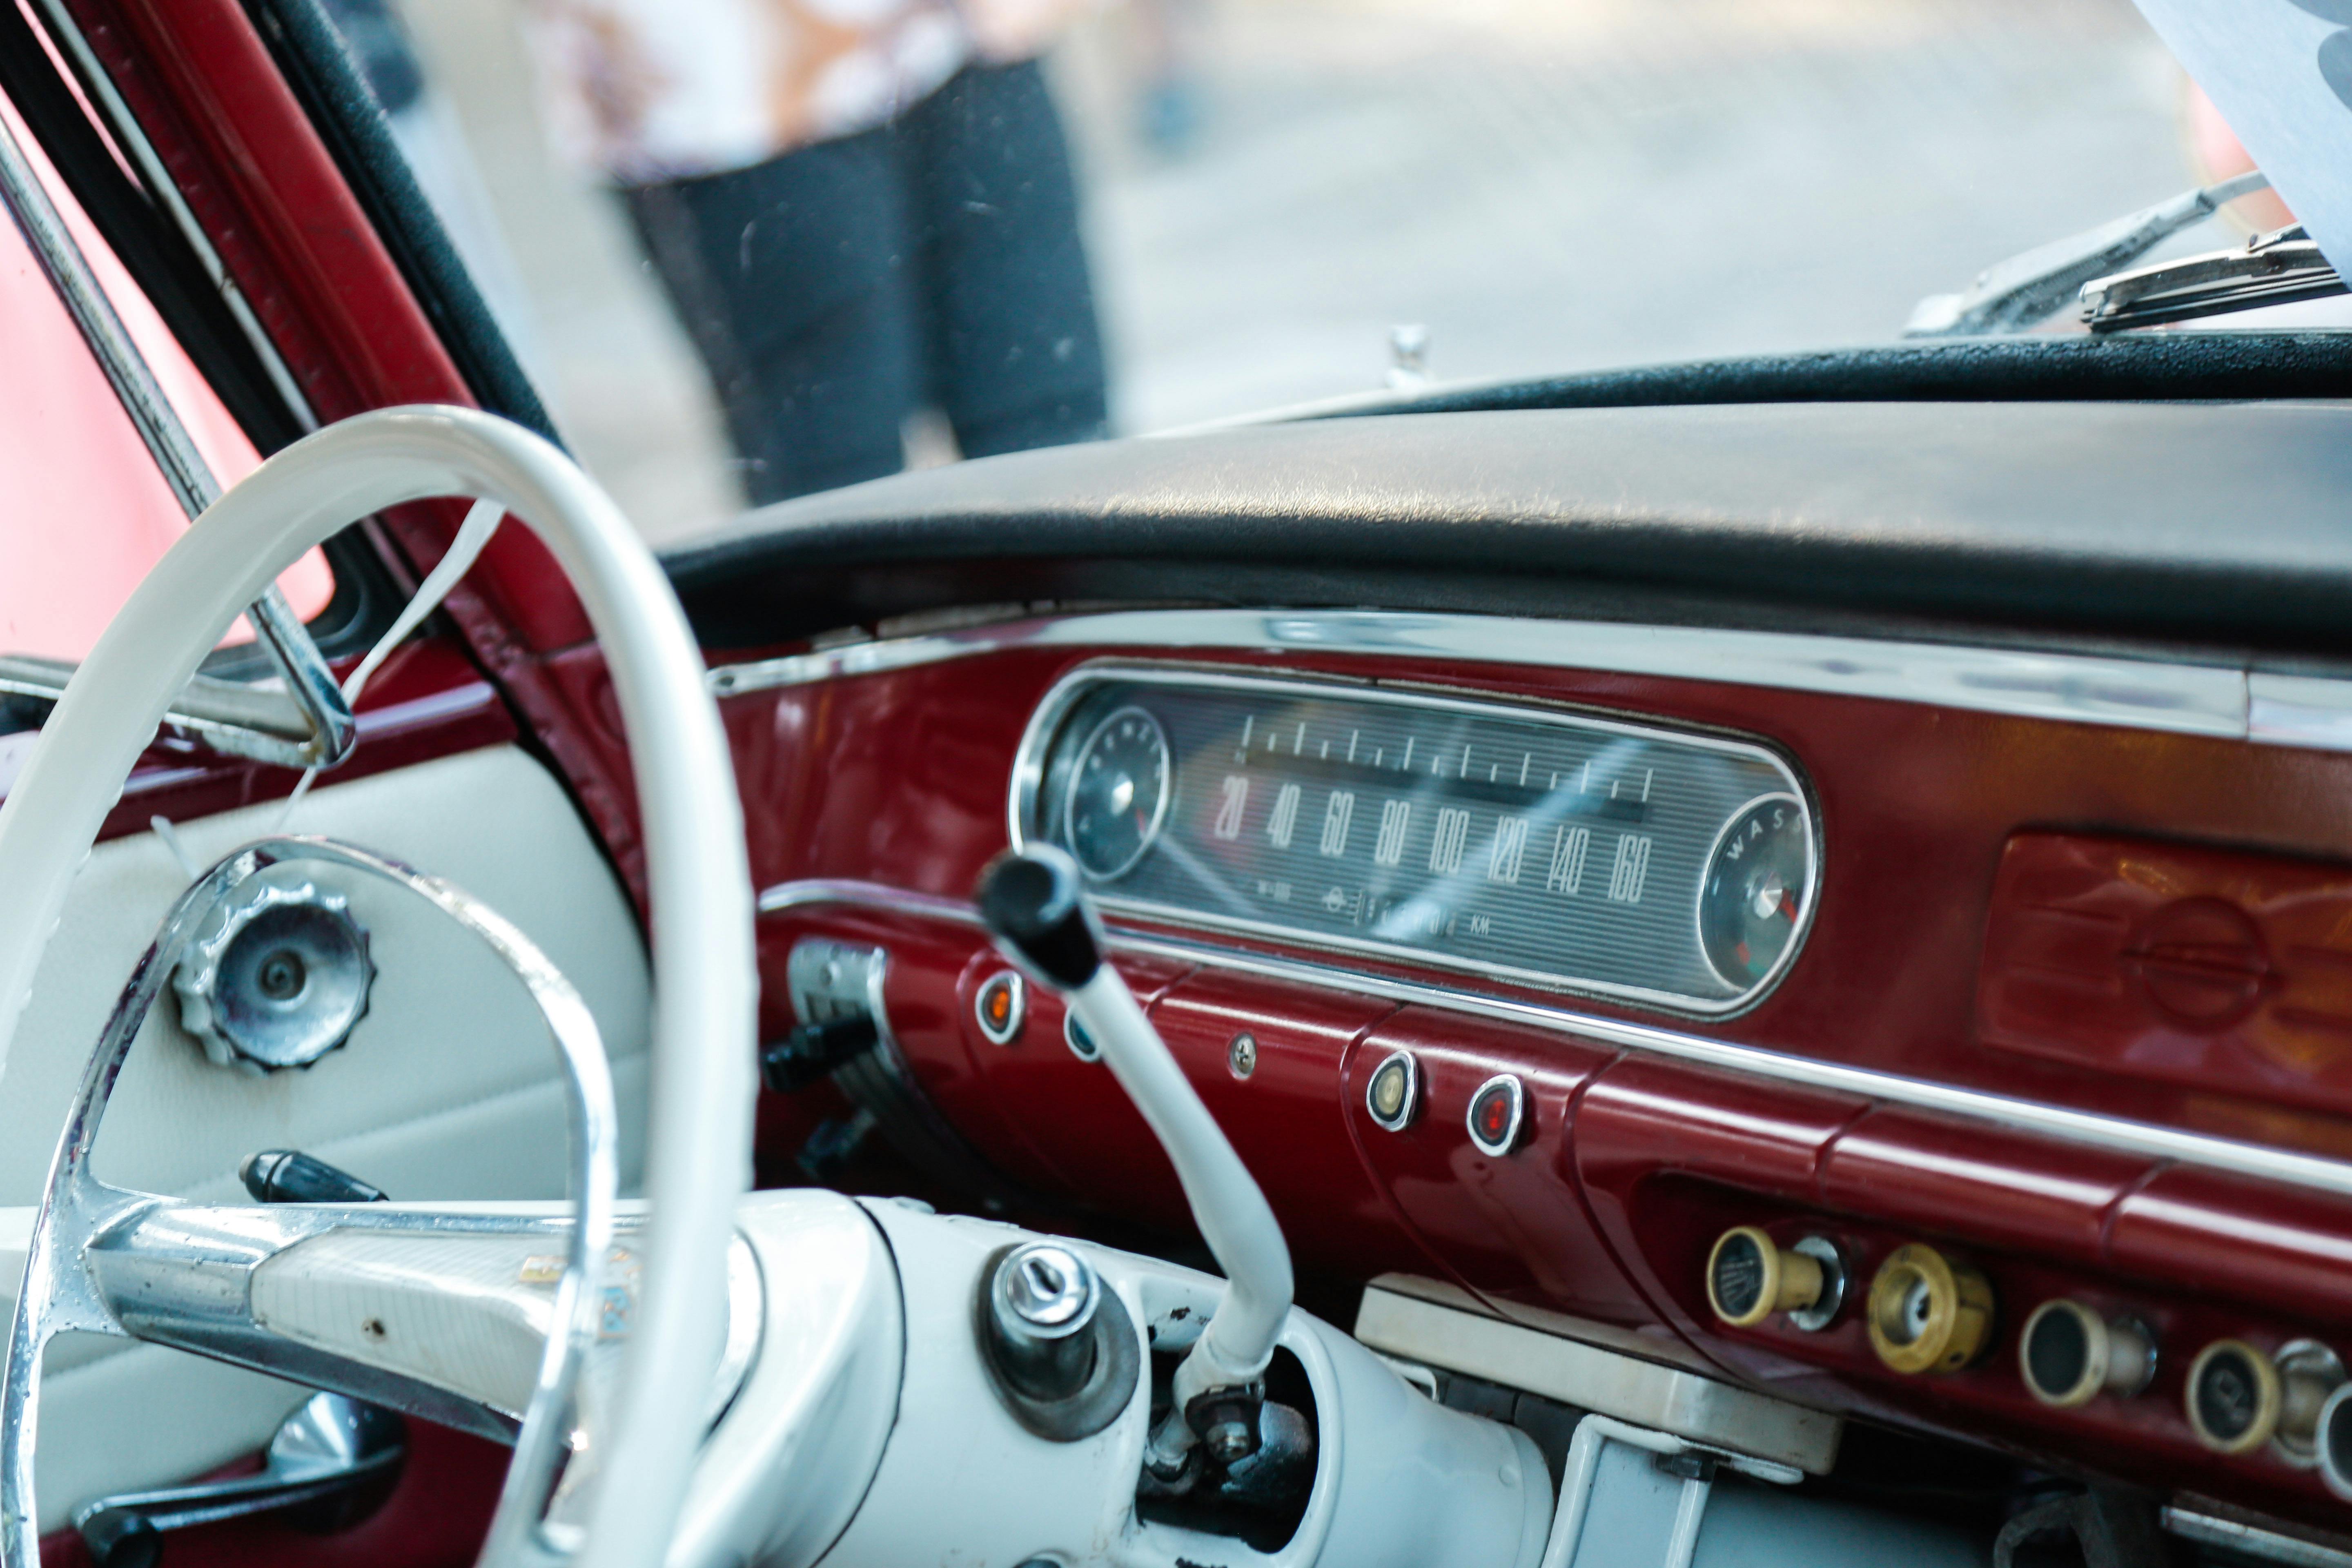
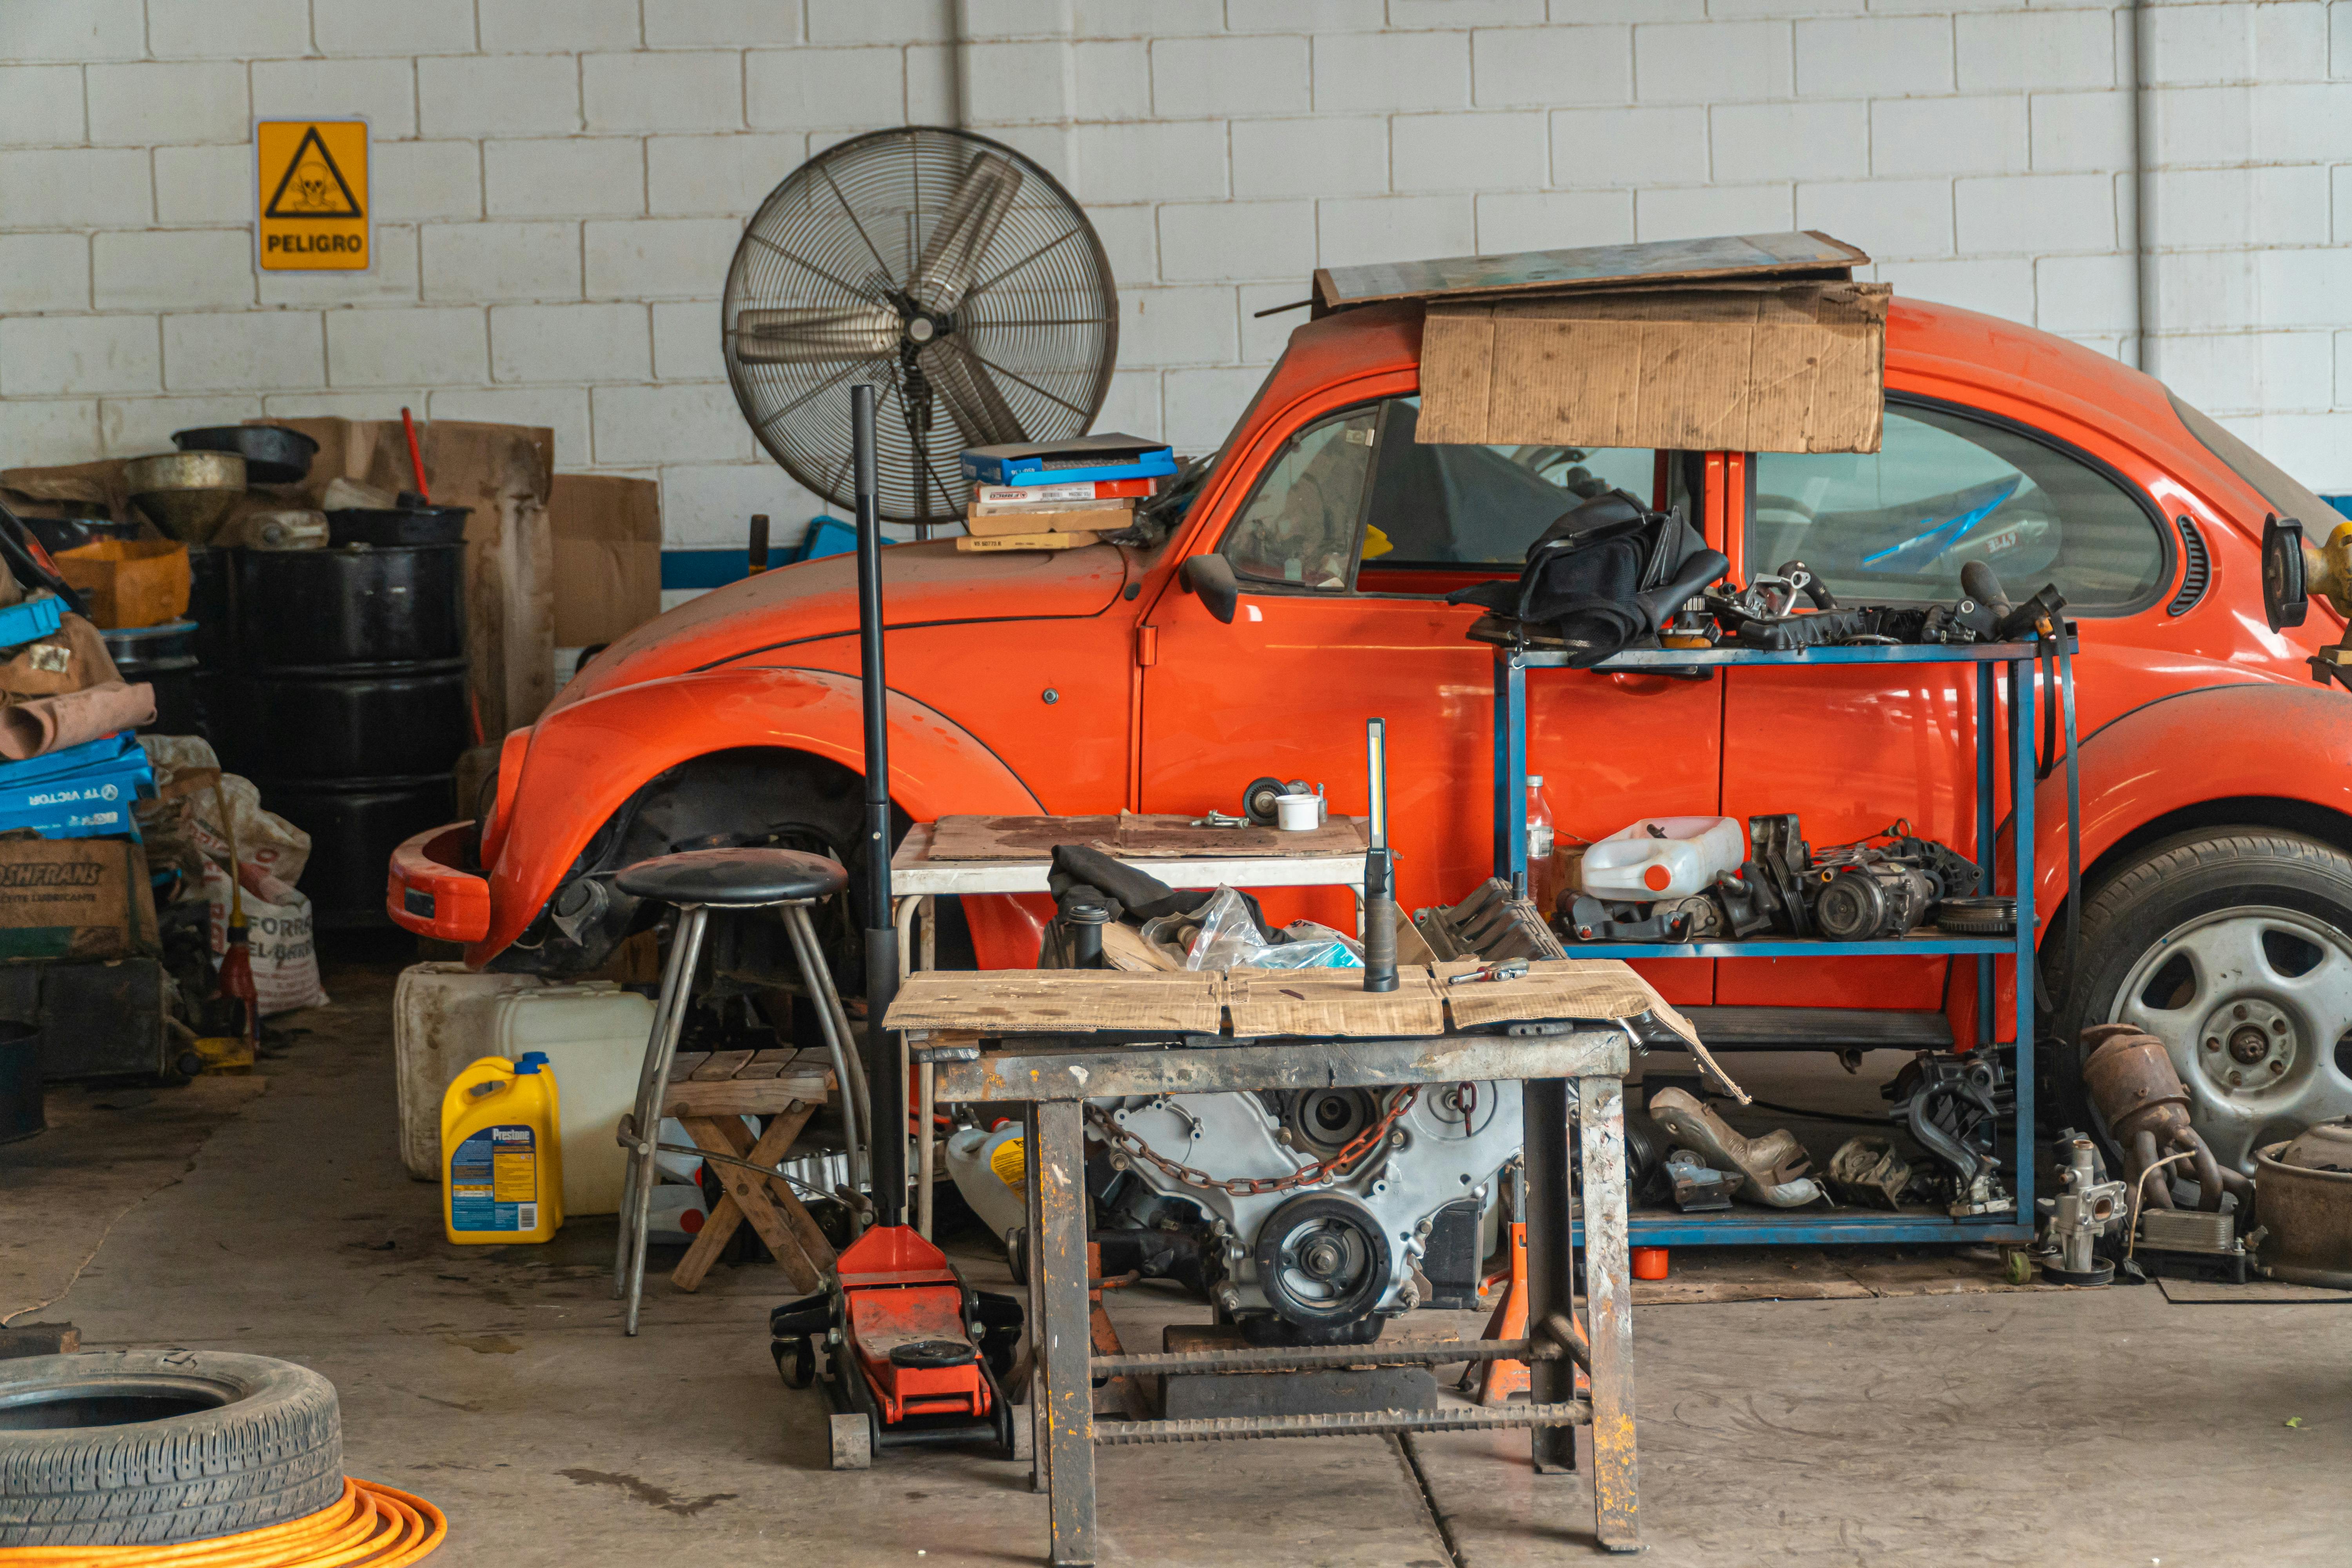
Restoring the upholstery of a classic car is a rewarding project that can significantly enhance the vehicle’s aesthetic and value. For homeowners in Oswego, IL, embarking on this journey can be both exciting and daunting. This guide is designed to introduce beginners to the basics of classic car upholstery restoration, providing step-by-step instructions and essential tips to get started.
Why Restore Classic Car Upholstery?
Classic car upholstery restoration is more than just a cosmetic upgrade. It preserves the authenticity and charm of vintage vehicles, increases their market value, and enhances the driving experience. With the rising interest in classic cars in 2026, restoring your vehicle’s interior can be a worthwhile investment.
Essential Tools and Materials
Before you begin, gather the necessary tools and materials. Here’s a checklist to help you prepare:
- Basic Tools: Screwdriver set, pliers, wrench set, seam ripper, and utility knife.
- Upholstery Materials: High-quality fabric or leather, foam padding, adhesive spray, and thread matching your upholstery color.
- Safety Gear: Safety goggles, gloves, and an apron to protect your clothing.
Step-by-Step Upholstery Restoration Process
Step 1: Removal of Old Upholstery
Begin by carefully removing the existing upholstery. Use a screwdriver to detach any screws securing the seats and a seam ripper to remove stitching without damaging the underlying material. Ensure you keep track of all removed parts for reassembly.
Step 2: Assessing and Repairing Seat Frames
Inspect the seat frames for rust or damage. Clean and repair any issues before proceeding. This step is crucial to ensure the longevity and safety of the new upholstery.
Step 3: Cutting New Upholstery Material
Lay the old upholstery on your new material as a template. Using a utility knife, carefully cut the new fabric or leather to size. Remember to leave extra material for seams and adjustments.
Step 4: Assembling and Sewing
With the new material cut, start sewing the pieces together. A strong, durable thread is recommended to withstand wear and tear. If you’re unfamiliar with sewing, consider practicing on spare fabric first.
Step 5: Installing New Upholstery
Stretch the newly sewn upholstery over the seat frames, ensuring a snug fit. Use adhesive spray to secure the fabric to the foam padding and seat frame. Replace any screws or clips removed earlier to finish the assembly.
Common Mistakes to Avoid
Restoring classic car upholstery can be challenging. Here are common pitfalls to avoid:
- Skipping Preparation: Thorough preparation is key. Don’t rush the removal and cleanup stages.
- Choosing Inappropriate Materials: Opt for materials that are durable and period-appropriate to maintain the car's classic look.
- Ignoring Safety: Wear safety gear to protect yourself from sharp tools and chemicals.
When to Seek Professional Help
While DIY restoration can be fulfilling, some projects may require professional intervention. If you encounter complex issues or lack the necessary skills, consider consulting experts like Aguilar Auto Upholstery in Oswego, IL. Professional services ensure high-quality results and save time.
Conclusion
Classic car upholstery restoration is a blend of art and skill. This beginner-friendly guide offers a foundational understanding to help homeowners in Oswego, IL, begin their restoration journey. Embrace the challenge, and transform your classic car’s interior with confidence. For expert advice or assistance, Aguilar Auto Upholstery remains a trusted local resource.
By following these steps and remaining patient, you can achieve a beautifully restored classic car interior that reflects your dedication and passion for vintage automobiles.